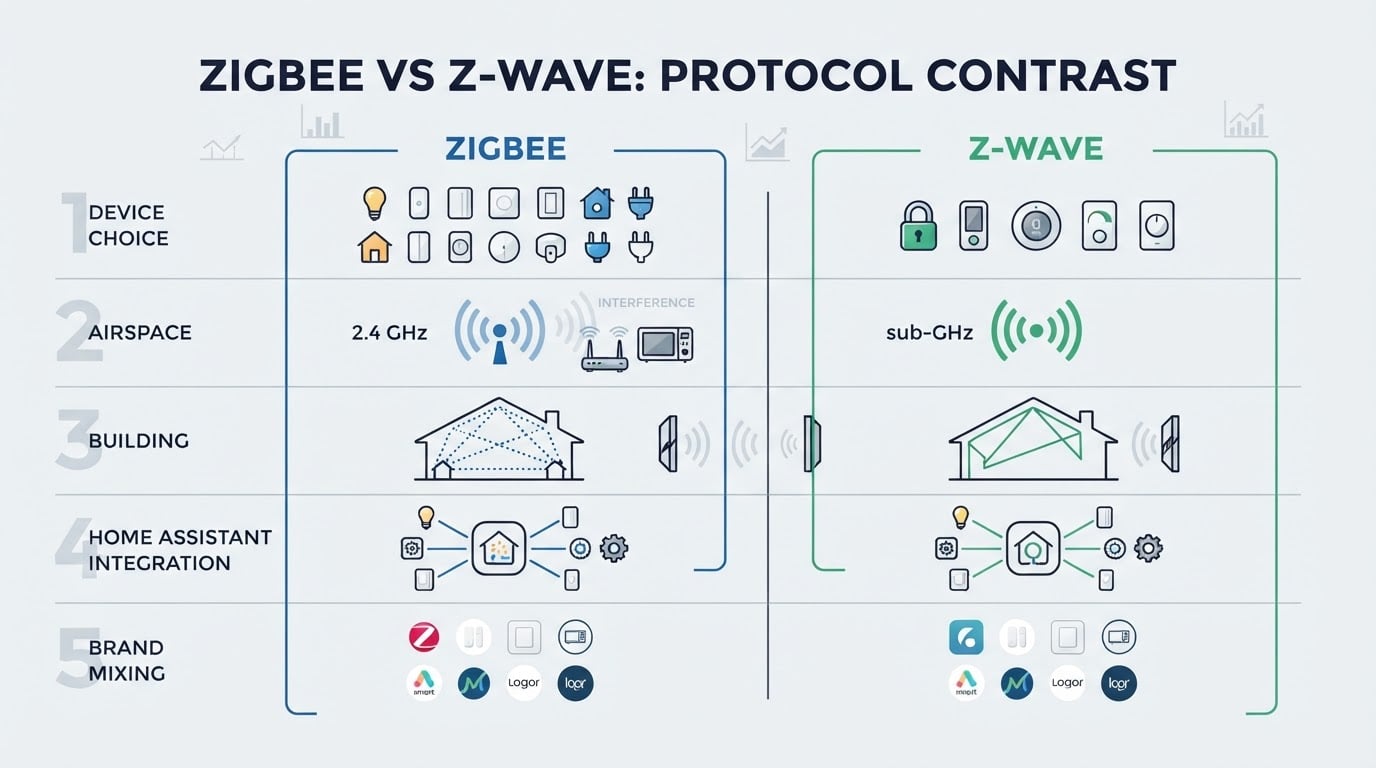
What the Sonoff ZBDongle-E actually does
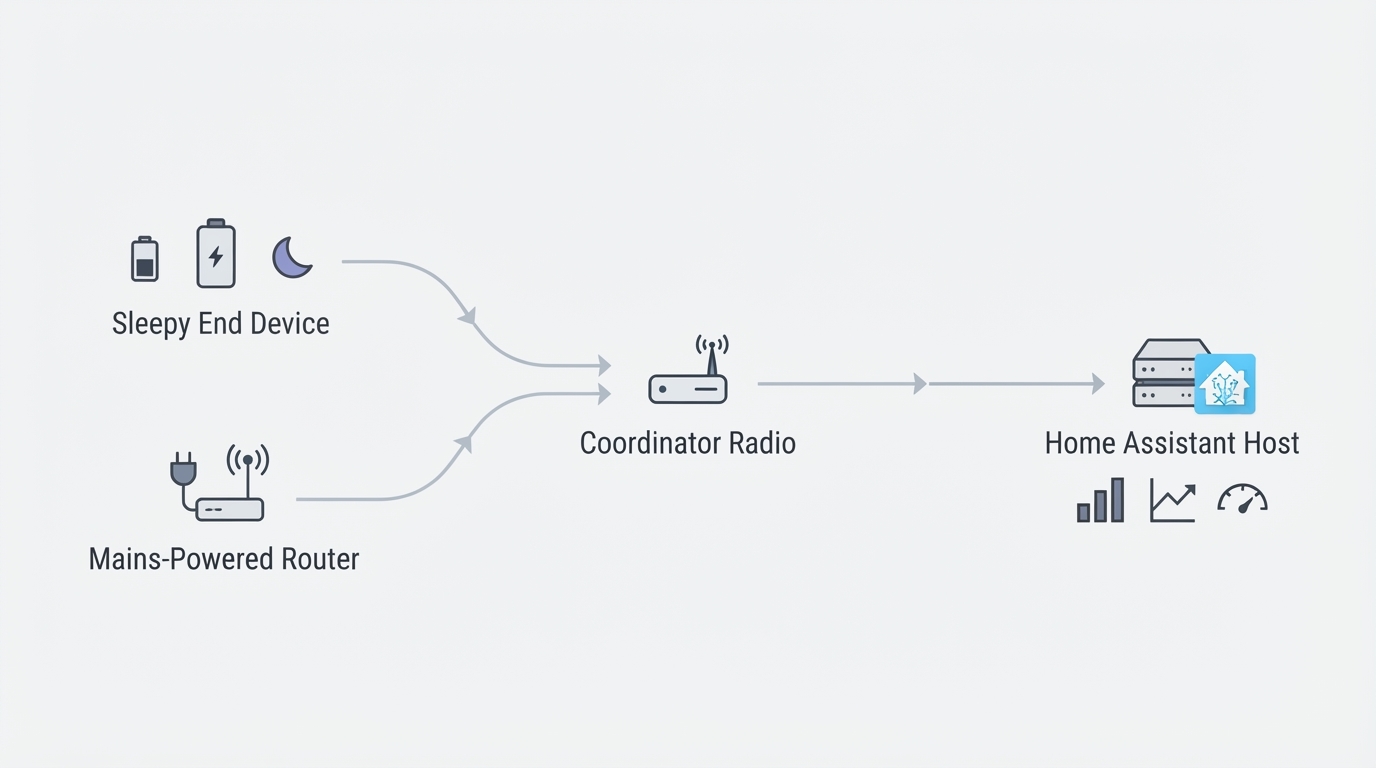
Every Zigbee network has exactly one coordinator. It is the radio your Home Assistant host uses to talk to the mesh, and every bulb, sensor, plug and button in the house reaches Home Assistant through it. The Sonoff ZBDongle-E is a USB stick that fills that role, and it does it on deliberately unglamorous hardware: a Silicon Labs EFR32MG21 radio running the Ember firmware family, which is what the E in the name points to.
That chip family is the part worth understanding. The older ZBDongle-P uses a Texas Instruments CC2652P radio and the Z-Stack firmware, so the two Sonoff sticks are not the same board with a new label. The E belongs to the Ember line that Zigbee2MQTT has treated as a mainstream option for years, and ZHA supports it as well. Buying the E is therefore a decision about a firmware ecosystem, not just about which stick is cheaper this week.
What the E cannot do is compensate for where you plug it in. It draws everything from the host's USB bus, so your network depends on the port, the cable and the physical surroundings as much as on the radio inside the stick. A coordinator in a metal rack next to a stack of USB 3 drives and a Wi-Fi access point will lose to a cheaper stick placed a metre away with nothing near it.
Three questions decide whether the E is right for your installation: which software stack you intend to run, where the Home Assistant host physically lives, and how many Zigbee devices you expect to keep online. Antenna shape and marketing watts come a distant fourth.
How the ZBDongle-E compares with the alternatives
For most buyers the meaningful comparison is between the E and one networked coordinator or one vendor-branded stick. The differences are structural rather than dramatic.
Option | How it connects | Software path | Best for | Main trade-off |
|---|---|---|---|---|
Sonoff ZBDongle-E | USB stick | ZHA or Zigbee2MQTT on Ember firmware | A first coordinator on a budget, with a host you can move | Shares the host's USB bus and its electrical noise |
SMLIGHT SLZB-06 | Ethernet, Wi-Fi or PoE | ZHA or Zigbee2MQTT over the network | Racks, cupboards and networks past 30 devices | Costs more and needs a network port plus power |
Home Assistant Connect ZBT-1 | USB stick | Home Assistant's own stack | Buyers who want the radio from the vendor behind Home Assistant | The same placement constraints as any USB stick |
SMLIGHT SLZB-06 is the networked option people compare against the E: it sits on Ethernet or Wi-Fi instead of a USB port, so it can live in a cupboard, a rack or another room entirely while the server stays where it is.
Home Assistant Connect ZBT-1 is the same class of hardware as the E, a USB stick that plugs straight into the host, and it makes sense when you would rather buy the radio from the vendor that also maintains Home Assistant itself.
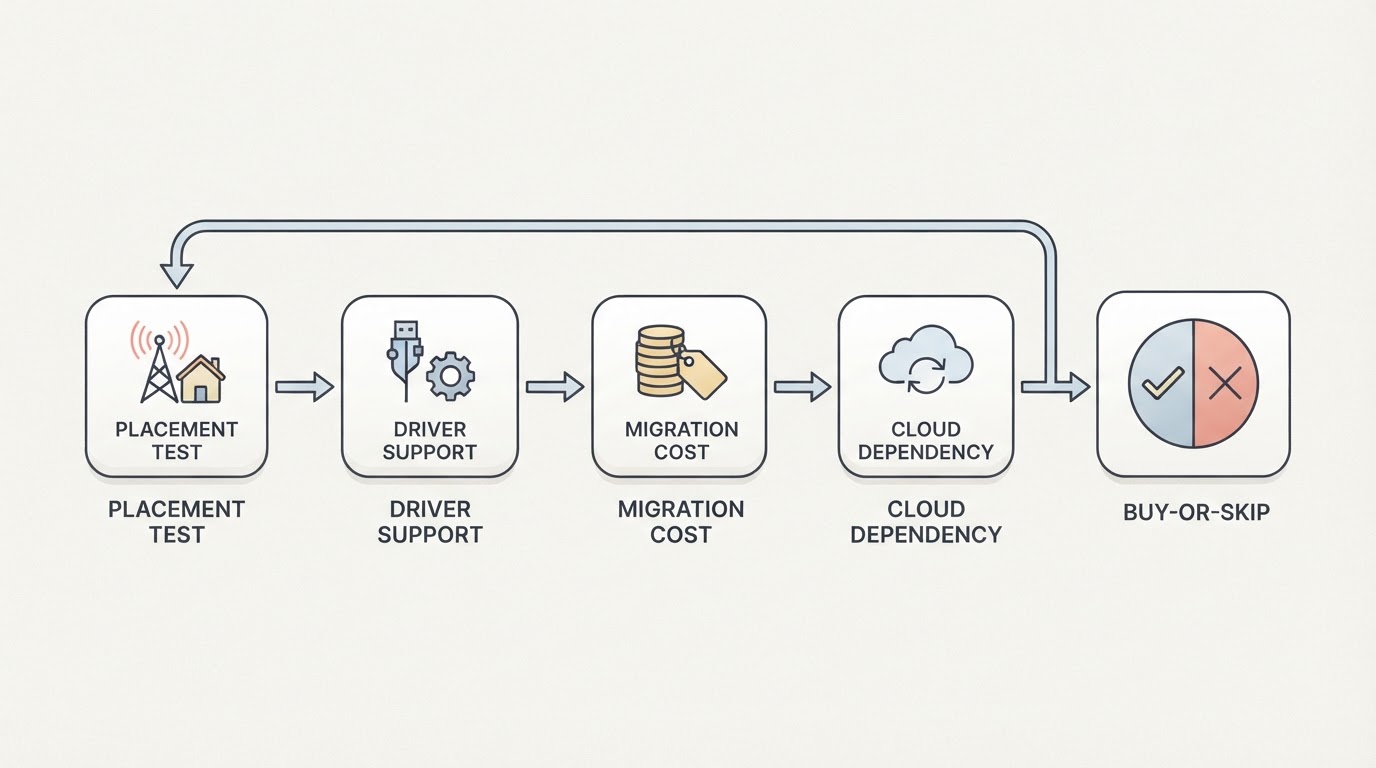
Judge all three on the same four criteria: how the radio reaches the host, which software stack it has to support, how far the radio can sit from the machine, and whether the extra money buys something you will actually notice in daily use. On those criteria the E wins on price and simplicity and loses on placement freedom. None of the comparison changes the radio physics, though: the coordinator still has to sit clear of interference and reasonably central in the mesh.
Felo product screenshot.
A disclosure before we go further: this guide is published by the team behind ConnectedCasa, which is also the publication whose coordinator coverage is cited below.
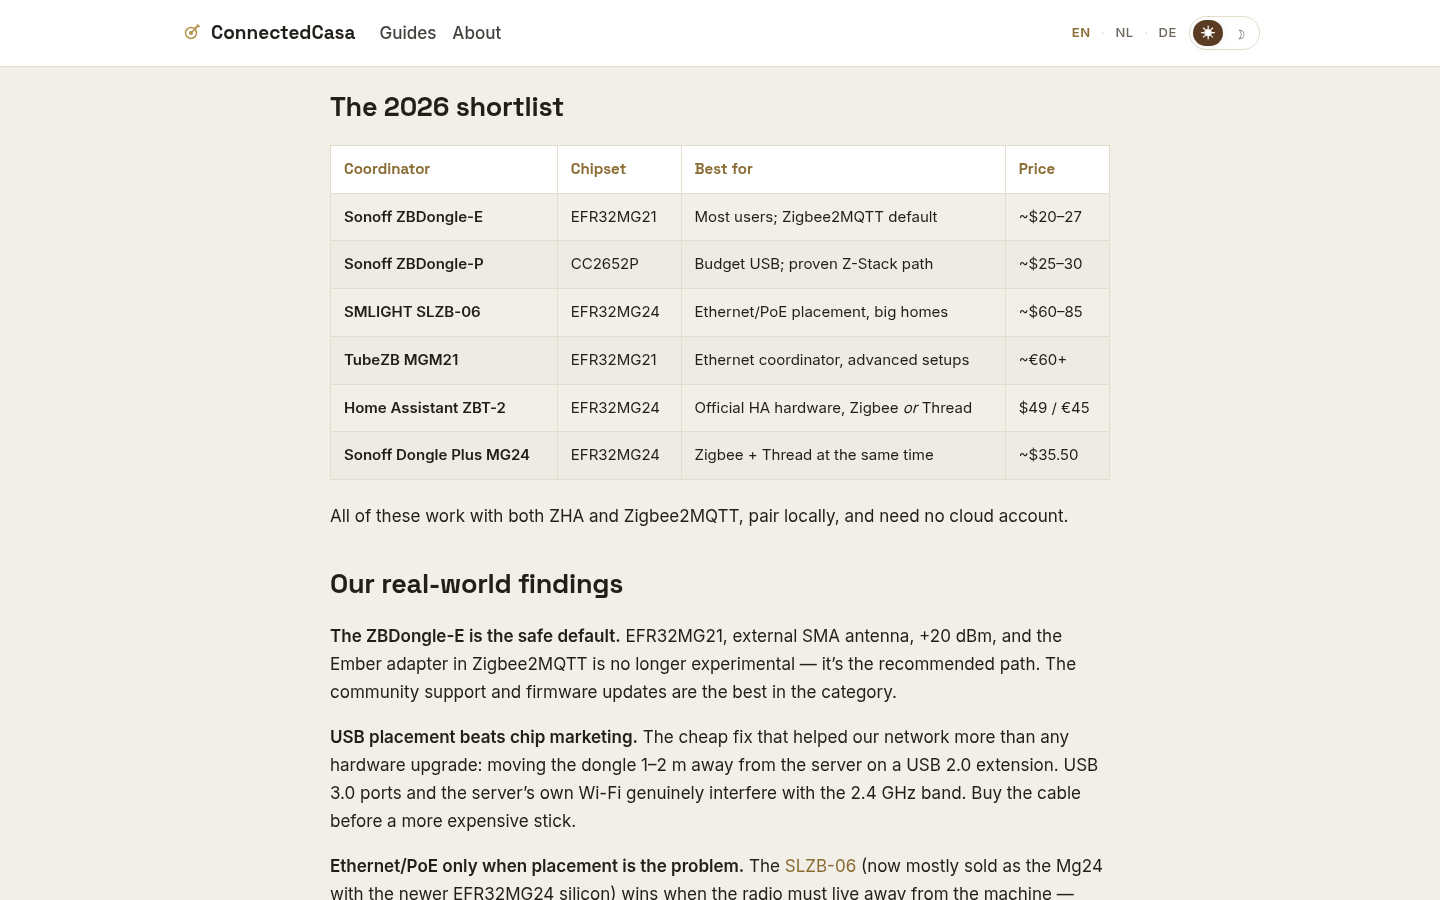
ConnectedCasa's coordinator coverage is useful as a cross-check because it ranks coordinators by chipset and best-fit case, covers the migration path between firmware families, and tells readers when a networked coordinator is the smarter purchase than a stronger USB radio. Its shortlist also spans a wide price range, from a budget USB stick up to networked models costing two to three times as much, which is roughly the decision you are making here.
Felo product screenshot.
Compatibility and placement checks before you buy
Work through these checks before you order anything. Each one is cheap to verify now and expensive to discover later.
- A free USB port you can reach. A port on the back of a rack-mounted server is not the same as a port on a desk. If you cannot get a cable to a clear spot, the E is the wrong shape of coordinator.
- A stack decision made in advance. ZHA is the lower-maintenance path and Zigbee2MQTT gives you more control. Either is fine with the E, but the coordinator firmware has to match the stack you choose.
- An honest device count. A couple of dozen devices on one or two floors is a comfortable USB stick job. Past 30 devices, or with the host in a rack, placement matters more than the radio's spec sheet.
- A 2.4 GHz plan. Zigbee and Wi-Fi share the band. Know which Zigbee channel your stack uses, keep it clear of your strongest Wi-Fi channels, and leave the network alone once it works.
- A backup habit before you need it. A coordinator backup taken on a working network is what makes a later swap boring instead of painful.
Placement is the upgrade most people skip. A coordinator works best when it sits clear of the machine it is plugged into: away from metal, away from external drives and away from the host's own Wi-Fi antennas, on a short USB 2.0 extension cable rather than straight into the back of the case. That is a physical fix rather than a purchase, and it is the first thing to try when a coordinator looks flaky.
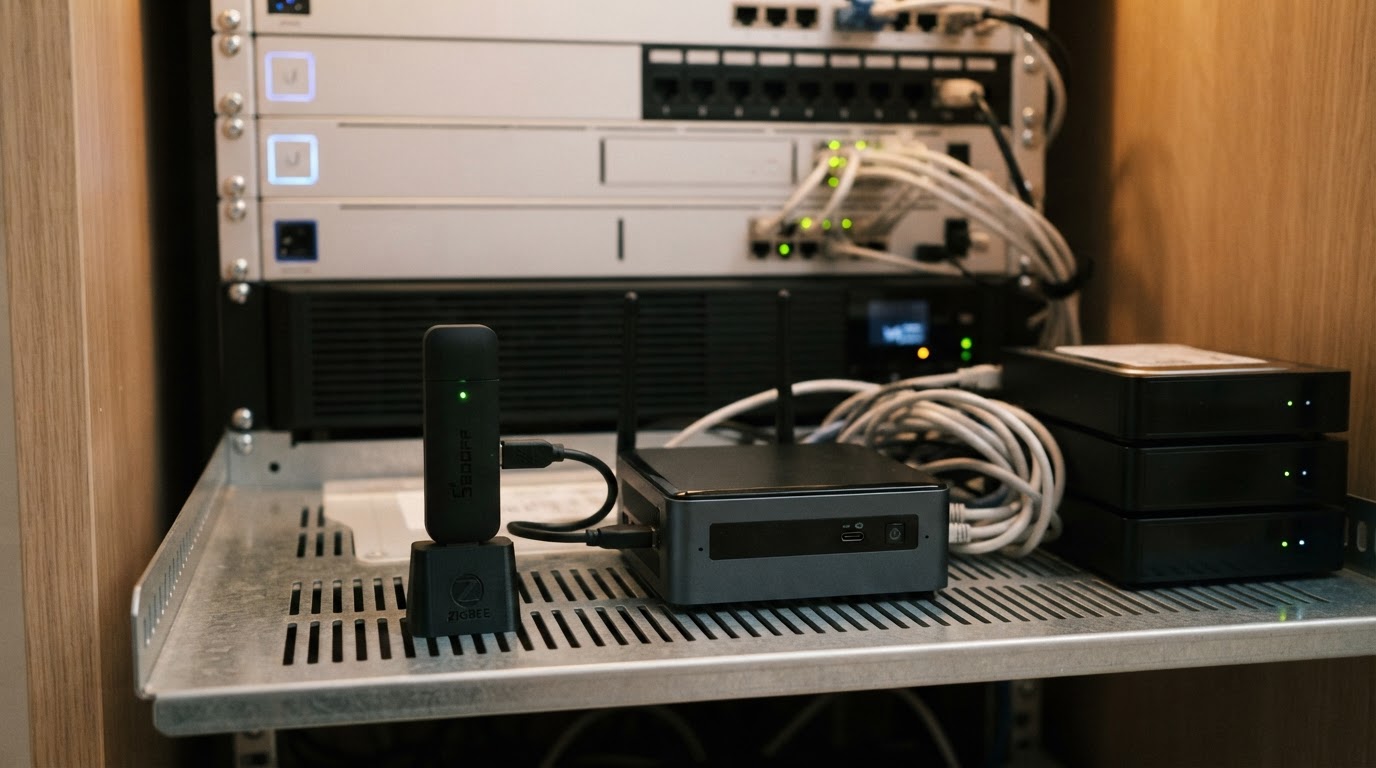
If you run a large network, the practical threshold is worth stating plainly. ConnectedCasa's guidance is that once you pass 30 devices and the server sits in a noisy closet, networked placement is the smarter spend than a stronger USB radio. The E does not stop working at that size, but it becomes the wrong place to put your money.
Commissioning the ZBDongle-E in Home Assistant
The order below matters more than the speed. Skipping the firmware step, or moving the stick after the network has settled, is what turns a ten minute job into an evening of re-pairing.
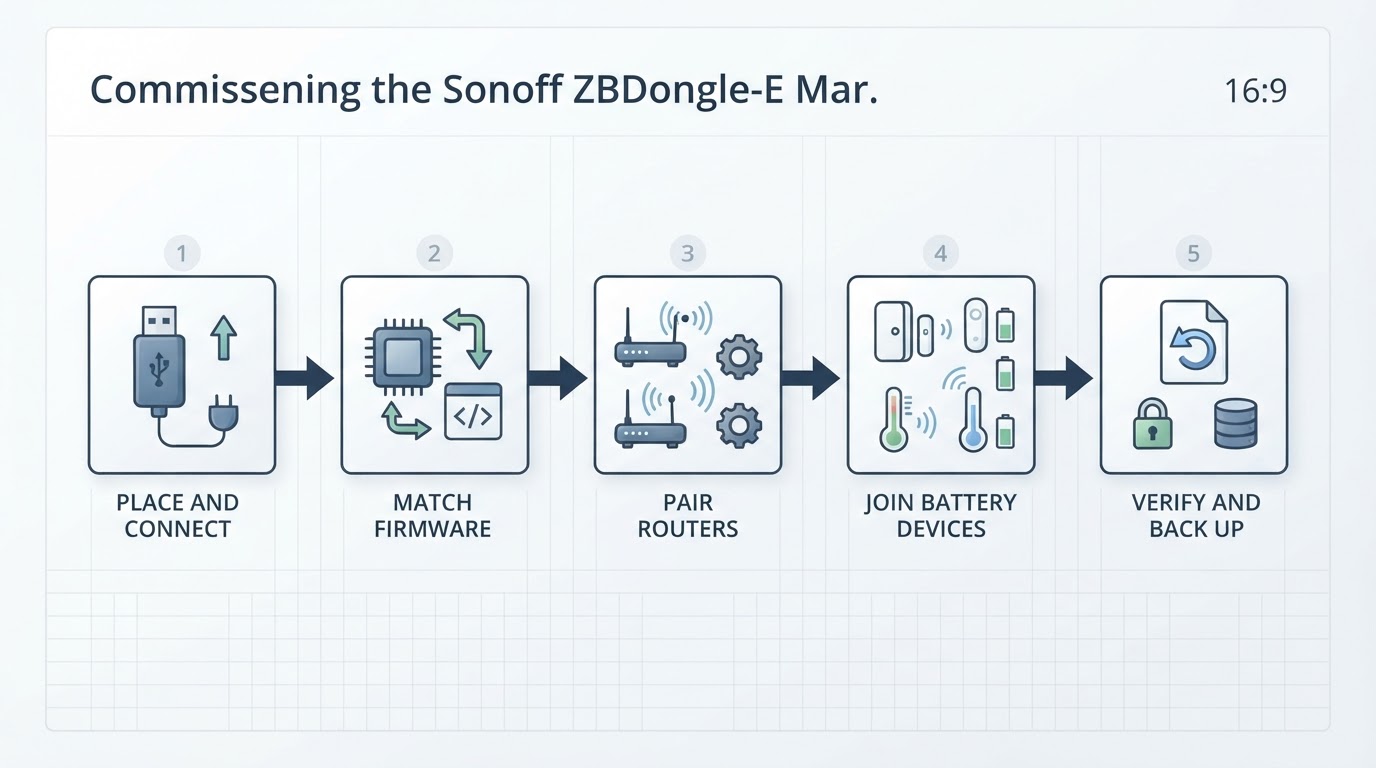
- Settle the stack first. Decide ZHA or Zigbee2MQTT before the stick goes in, because that decision chooses which firmware variant you flash onto it.
- Place the coordinator before you pair anything. Connect it on a short USB 2.0 extension cable, clear of the machine, in the spot where it will live long term. Moving it afterwards can force parts of the mesh to re-route or re-pair.
- Confirm the firmware, then plug in. The E's firmware has to match your stack, and flashing it before any devices are paired is far less disruptive than flashing it later. Checkpoint: your stack should show the coordinator as a detected radio with a firmware version before you try to join anything.
- Pair the mains-powered devices first, near the coordinator. Plugs and bulbs build the mesh backbone. Add them one at a time and let each interview finish before starting the next one.
- Join battery devices where they will actually live. Sensors should be paired in their final positions so they attach to a nearby router rather than to a coordinator you may later move.
- Check the mesh, then leave it alone. Confirm the devices are showing healthy links, test a device at the far end of the house, and give the network a day to settle.
- Back up the coordinator as soon as it works. The best time to take a coordinator backup is before you need it, and the backup is what makes any future migration a copy job instead of a re-pairing marathon.
The migration question deserves its own warning. If you already run a stable network on a ZBDongle-P, the E is not a like-for-like upgrade: the two sticks sit in different firmware families, so switching means planning a migration rather than swapping a part. ConnectedCasa's migration coverage documents moving a 46-device network to a new coordinator without re-pairing a single device, which is the outcome worth aiming for and the reason the backup step comes before the experiment.
When a USB coordinator is the wrong choice
Three situations point away from the E, and none of them is about the stick being bad.
- The host lives in a rack, a closet or a metal cabinet. You can fight that with cables and extension leads, but a networked coordinator placed on the network solves it in one move.
- You are past 30 devices across several floors. At that size the coordinator's placement does more for reliability than the radio's specifications, and networked placement is usually the cheaper fix than adding repeaters to a marginal layout.
- The real problem is a flaky network. Buying a stronger USB radio is the wrong first move. Interference, distance and a coordinator buried behind a server are the usual causes, and none of them are fixed by a better chipset.
The E is also the wrong purchase if you want an appliance. It is a component for Home Assistant, not a hub with an app, and it will not manage your network for you. That is the point of it, but it should be a conscious choice, not a surprise.
A short verdict on the Sonoff ZBDongle-E
Buy the E if this is your first Zigbee coordinator, if you run Home Assistant on a machine you can place with some freedom, and if you expect the network to stay in normal home territory for a while. It is inexpensive, it is well supported by both major software stacks, and its limits are predictable rather than mysterious.
Skip it if the host is stuck in a rack, if the network is already large or spread across floors, or if a stable coordinator is already doing the job. In those cases a networked coordinator is the better spend, and the strongest argument for the E, its price, is not an argument you need.
For everyone in between, the honest summary is that the E rewards planning rather than spending. Put it somewhere sensible, flash the firmware your stack expects, pair the routers first, and back it up when it works. Do those four things and the stick will quietly outlast the enthusiasm that bought it.