Install Home Assistant on a Raspberry Pi and choose the right hardware
The official Home Assistant guide lists the Raspberry Pi 4 and Raspberry Pi 5, with at least 2 GB of RAM. Pair it with a microSD card of 32 GB or more, rated A2, and a power supply that delivers full power.
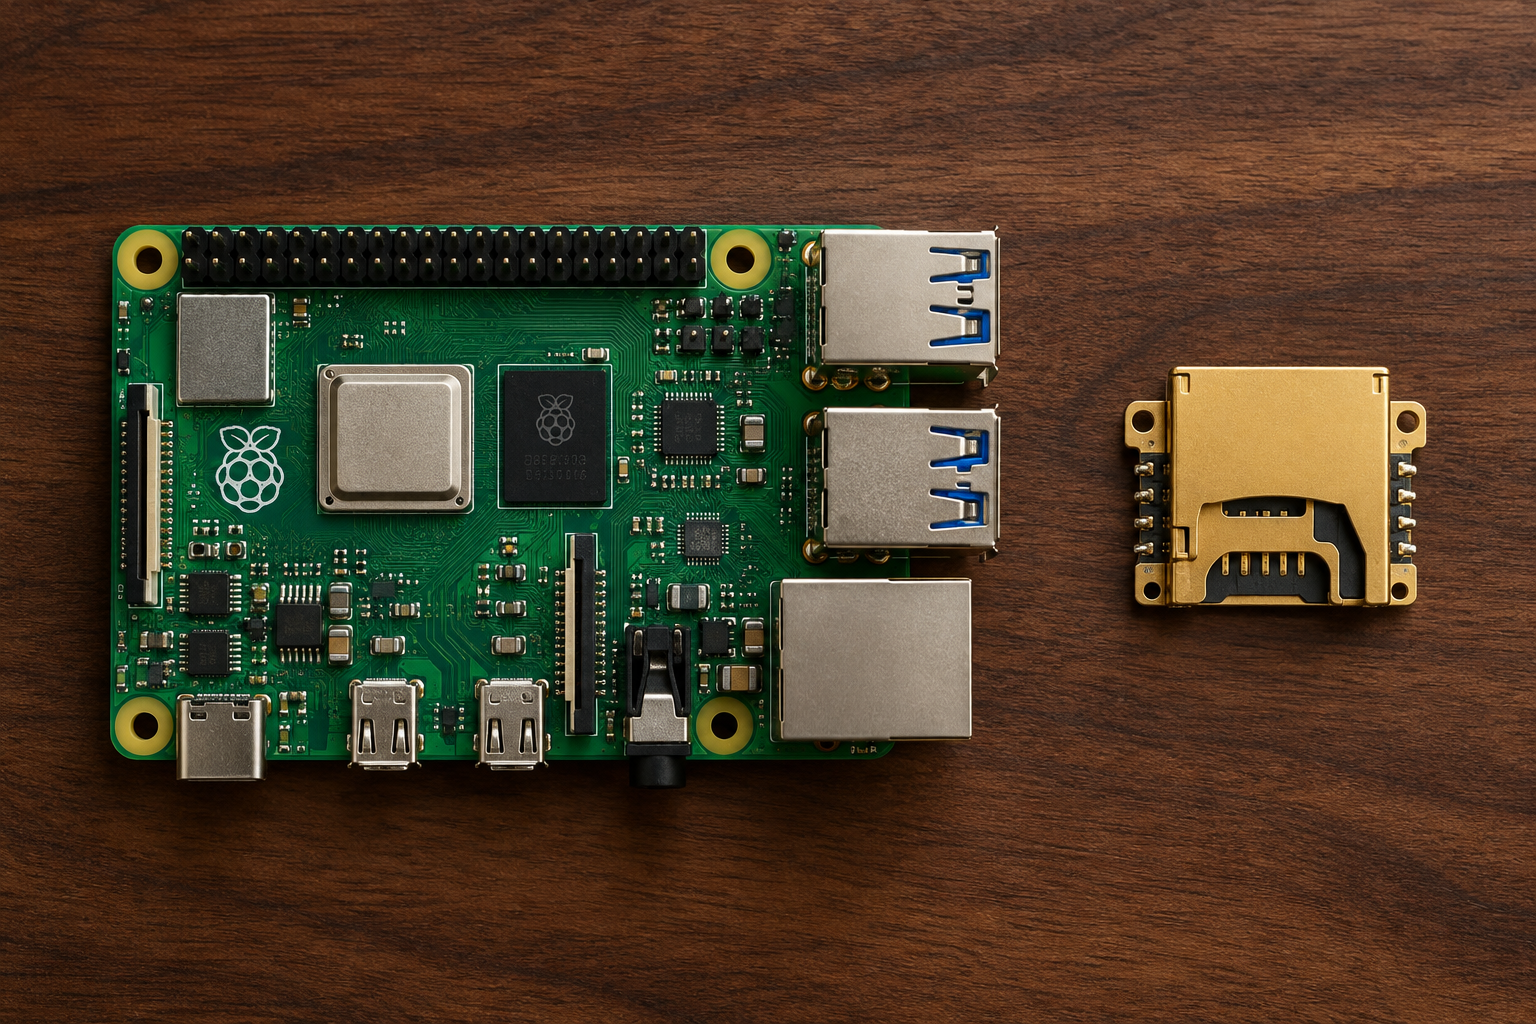
What you need before you start
Gather these items before you flash the card:
- Raspberry Pi 4 or Raspberry Pi 5, with at least 2 GB of RAM
- microSD card, 32 GB or larger, Application Class 2 (A2)
- Power supply that delivers full power to the Pi. Do not power the Pi from a computer USB port.
- Ethernet cable and a router or switch on the same network as your computer
- A computer with Raspberry Pi Imager installed, plus a card reader
Install Home Assistant OS step by step
Home Assistant OS is the official image for a dedicated Home Assistant box. Flashing the card erases everything on it, so use a card you can wipe.
- Install Raspberry Pi Imager on your computer and open it.
- Click the OS selector. Choose Other specific-purpose OS, then Home automation, then Home Assistant.
- Select the variant that matches your board: Raspberry Pi 4 or Raspberry Pi 5.
- Insert the microSD card and select it as the storage device. The contents of the card will be overwritten.
- Start the write and wait until it finishes.
- Eject the card and insert it into the Raspberry Pi.
First boot
Connect the Pi to your router with an Ethernet cable, then power it on. On a Raspberry Pi 4 or 5, Home Assistant should be reachable within about a minute. Open http://homeassistant.local in your browser. If that address does not load, try homeassistant, the Pi's IP address from your router, or port 8123 with the hostname (for example, homeassistant.local:8123).
If the Pi does not appear
If Home Assistant is not reachable after 5 minutes, flash the card again, try a different card, or connect a monitor by HDMI to read the console output. If you plan to add Zigbee devices later, see our Zigbee coordinator guide.
Storage, power, and cooling choices
The card, the power supply, and the case shape how reliably your install runs day to day.
microSD card
Use 32 GB or larger, rated A2. A2 cards handle the small, frequent reads and writes that Home Assistant produces better than budget cards. Keep a backup off the card.
For reliable performancePower supply
Use a supply that delivers full power to the Pi. A phone charger may not deliver full power, and a computer USB port does not supply enough power for the Pi.
To prevent instabilityCooling
Use a case with airflow or a heatsink so the Pi stays steady during long periods of use. Critical for sustained high-load operations.
For sustained loadBack up before you change anything
Make a backup before you upgrade Home Assistant, add major integrations, or change hardware. Store copies somewhere other than the SD card, so a failed card does not take your configuration with it. If you rebuild on new hardware, restore the most recent backup onto a fresh install before you reconnect your devices.
Raspberry Pi or mini PC?
A Raspberry Pi is the lowest-cost way to run Home Assistant on its own. A mini PC is the better fit when the install grows beyond a light setup.
Choose a Raspberry Pi when...
Your install is small, you want a low-power box that runs quietly, and you are comfortable replacing a microSD card if it fails.
Choose a mini PC when...
You plan to run many add-ons, keep a large history database, or want more RAM and faster SSD storage than a Pi offers.
Plan the upgrade path
A mini PC gives you room to grow. A Pi keeps the cost and footprint low and suits a first install. Start where you are comfortable and scale as your home grows smarter.
Frequently asked questions
Which Raspberry Pi models can run Home Assistant OS?
The official Home Assistant installation guide lists the Raspberry Pi 4 and Raspberry Pi 5. Choose a model with at least 2 GB of RAM.
What size microSD card do I need?
Use a card of at least 32 GB. The official guide recommends an Application Class 2 (A2) card for better performance with small reads and writes.
Can I power the Pi from my computer's USB port?
No. The official guide says computer USB ports do not supply enough power and should not be used. Use a power supply that delivers full power.
What if homeassistant.local does not open?
Wait up to five minutes after the first boot. Then try homeassistant, the Pi's IP address, or port 8123. If it still does not load, flash the card again or connect a monitor to read the console.
Is a mini PC better than a Raspberry Pi for Home Assistant?
It depends on the size of your install. A Raspberry Pi suits a small, low-power setup. A mini PC suits a larger install with more add-ons, a bigger history database, or SSD storage.
Keep building your smart home
Read more hands-on Home Assistant and Zigbee guides on Connected Home Notes.
Installation steps and hardware requirements follow the official Home Assistant Raspberry Pi installation guide. Check that guide before you flash, because steps can change with new releases.